Configure Git in PowerShell So You Don’t Have to Enter Your Password All the Damn Time
My last post covered how to improve your Git experience on Windows using PowerShell, Posh-Git, and PsGet. However, a commenter reminded me that a lot of folks don’t know how to get Git for Windows in the first place.
And once you do get Git set up, how do you avoid getting prompted all the time for your credentials when you push changes back to your repository (or pull from a private repository)?
I’ll answer both of those questions in this post.
Install msysgit
The first step is to install Git for Windows (aka msysgit). The full installer for msysgit 1.7.8 is here. For a detailed walkthrough of the setup steps, check out GItHub’s Windows Setup walkthrough. It’s pretty straightforward. That’ll put Git.exe in your path so that Posh-Git will work.
Bam! Done! On to the second question. Make sure you set up your SSH keys before moving to the second section.
Using SSH with Posh-Git
One annoyance with Git on Windows is when pushing changes to a repository (or pulling from a private repository), you have to constantly enter your password if you cloned the repository using HTTPS.
Likewise, if you clone with SSH, you also need to enter your passphrase each time. Fortunately, a little program called ssh-agent can securely save your pass phrase (and consequently your sanity) for the session and supply it when needed.
Update: Mike Chaliy just fixed PsGet so it always grabs the latest version of Posh-Git. If you installed Posh-Git before today using PsGet, you’ll need to update Posh-Git by running the following command:
Install-Module Posh-Git –force
Unfortunately, at the time that I write this, the version of Posh-Git in PsGet does not support starting an SSH Agent. The good news is, the latest version of Posh-Git direct from their GitHub repository does support SSH Agent.
Since the previous step installed git.exe on my machine, all I needed to do to get the latest version of Posh-Git is to clone the repository.
git clone https://github.com/dahlbyk/posh-git.git
This creates a folder named “posh-git” in the directory where you ran the command. I then copied all the files in that folder into the place where PsGet installed posh-git. On my machine, that was:
C:\Users\Haacked\Documents\WindowsPowerShell\Modules\posh-git
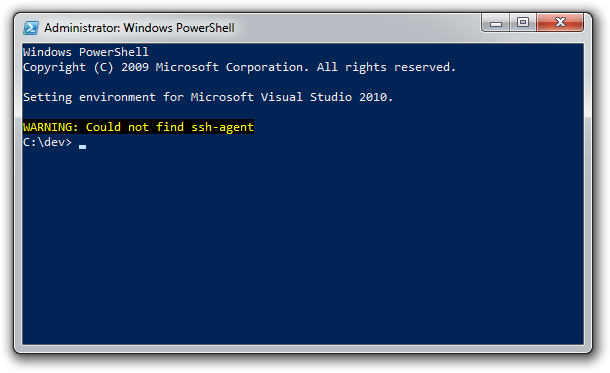
When I restarted my PowerShell prompt, it told me it could not start SSH Agent.
It turns out that it was not able to find the “ssh-agent.exe” executable. That file is located in C:\Program Files (x86)\Git\bin. but that folder isn’t automatically added to your PATH by msysgit.
If you don’t want to add this path to your system PATH, you can update your PowerShell profile script so it only applies to your PowerShell session. Here’s the change I made.
$env:path += ";" + (Get-Item "Env:ProgramFiles(x86)").Value + "\Git\bin"
On my machine that script is at:
C:\Users\Haacked\Documents\WindowsPowerShell\Microsoft.Powershell_profile.ps1
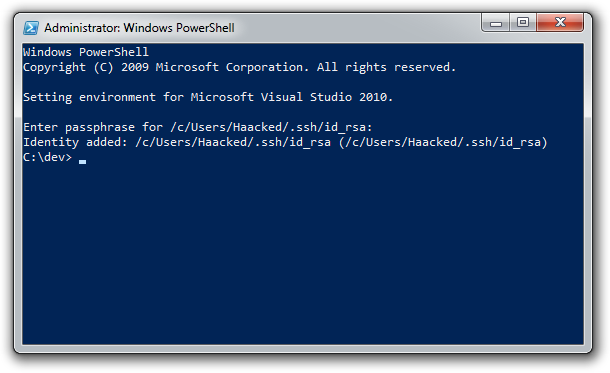
The next time I opened my PowerShell prompt, I was greeted with a request for my pass phrase.
After typing in my super secret pass phrase, once at the beginning of the session, I was set. I could clone some private repositories and push some changes without having to specify my pass phrase each time. Nice. Secure. Convenient.
The Start-SshAgent Command
The reason that I get the ssh-agent prompt when starting up PowerShell is because when I installed Posh-Git, it updated my profile to load in their example profile:
C:\Users\Haacked\Documents\WindowsPowerShell\Modules\posh-git\profile.example.ps1
That profile script is calling the Start-SshAgent command which is
included with Posh-Git. If you don’t like their profile example, you can
manually start ssh-agent by calling the Start-SshAgent command.


Comments
39 responses