
Implementing CSS Based Printing
I don’t know about you, but when I find something wordy but really worth reading on the web, I print it out. Sure, I could try reading it on my tablet, but do you really want to deal with your tablet while reading in the…er… “office” if you know what I mean? *wink wink * *nudge nudge *
Unfortunately, the experience of printing many blog posts typically includes an ink draining header graphic, an unecessary space wasting sidebar or two, and the main fixed-width content being truncated off to one side.
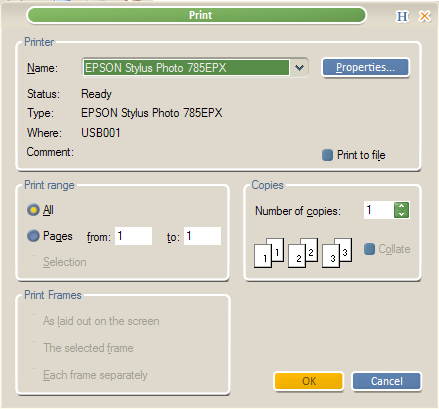
If you click through to an individual blog post from my blog using a browser, you will notice that I now have a Print button. Go ahead and click it. It should bring up the following dialog.
Getting that dialog to display is quite simple. Here is the HTML.
<a href="javascript:window.print();">Print</a>
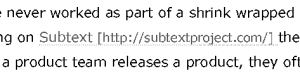
However if you actually follow through and print a page, you can see that the result only includes the contents of the post and does not include my top navigation nor the sidebar. To test it out without actually printing, try turning on print preview for your printer if your printer driver software supports it.
The other thing you’ll notice is that the printed view displays the urls for links alongside the link (if you are using a CSS2 conformant browser such as Firefox). The image below is a screenshot from my poor quality print preview.
So the obvious conceit here is that I expect to someday write something worth printing. In the meanwhile, I have the print icon there to give people the impression that my content is worth printing.
And setting this up is quite simple using media specific CSS. My blog
has a separate css
stylesheet
for printing. The changes the stylesheet makes to the layout include
changing from a fixed-width layout to a 100% width layout as well as
setting the display of certain elements to none. Note that this print
specific stylesheet works whether a reader clicks on the print icon or
uses the browser’s print button.
My inspiration for setting this up was this article in A List Apart by Eric Meyer. His article provides several tips for better web printing.
Setting This Up For Subtext
For those of you with a Subtext blog, how can you set this up for yourself? Glad you asked.
One enhancement we made to the skinning engine over .TEXT is that we added more options to the Skins.config file located in the Admin directory.
A skin can now specify one or more script and css files. For script files, you may specify the language, though javascript is the default. For css files, you can specify the media type.
Here is a snippet from my Skins.config file. Haacked is my personally customized skin not included with Subtext.
<SkinTemplate SkinID="Haacked" Skin="Haacked">
    <Scripts>
        <Script Src="scripts/ExternalLinks.js" />
        <Script Src="scripts/LiveCommentPreview.js" />
        <Script Src="scripts/tableEffects.js" />
    </Scripts>
    <Styles>
        <Style href="IEPatches.css" />
        <Style href="print.css" media="print" />
    </Styles>
</SkinTemplate>
As with .TEXT, the skinning engine just assumes that there is a
style.css in the root of your skin’s directory, so it does not need to
be specified here. However, now you may simply add additional css files
for your skin to reference. In the snippet above, you can see I have a
separate file for IE CSS hacks as well as a separate css file for
printing.
The declaration for print.css includes a value of “print” for media.
Other allowed values include, all, aural, braille, embossed, handheld,
print, projection, screen, tty,
tv,
though for everyday use, most developers will stick to print and screen.
After setting a reference to your print.css file in the Skins.config file, simply add a print.css file to your skins root and you are on your way to better printing.
Comments
7 responses